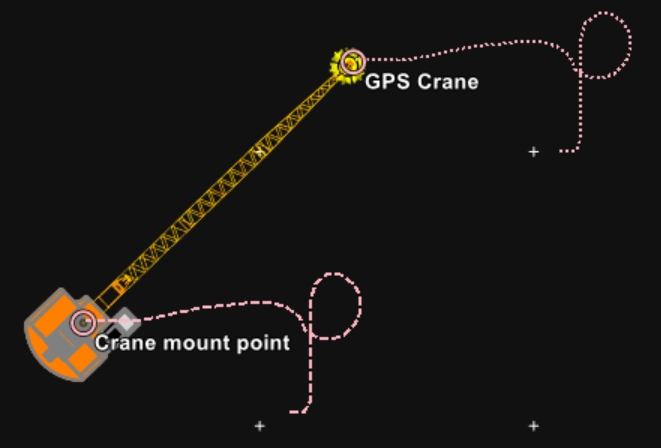
Offset Points
The Offset Points on your equipment can be shown in the Top View.
These points are defined in the Equipment Editor Part of the VOSS.net software package, in which all parameters, dimensions, layout, arms, heads and interfacing with other equipment can be defined, normally by the surveyor. in VOSS.NET and can be selected here.
On this page:
Show Offset Points
To switch on or off:
 Right mouse click in
Top View > View Settings > Show Offset Points
Right mouse click in
Top View > View Settings > Show Offset Points
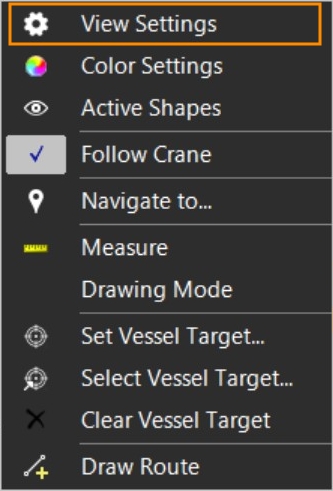
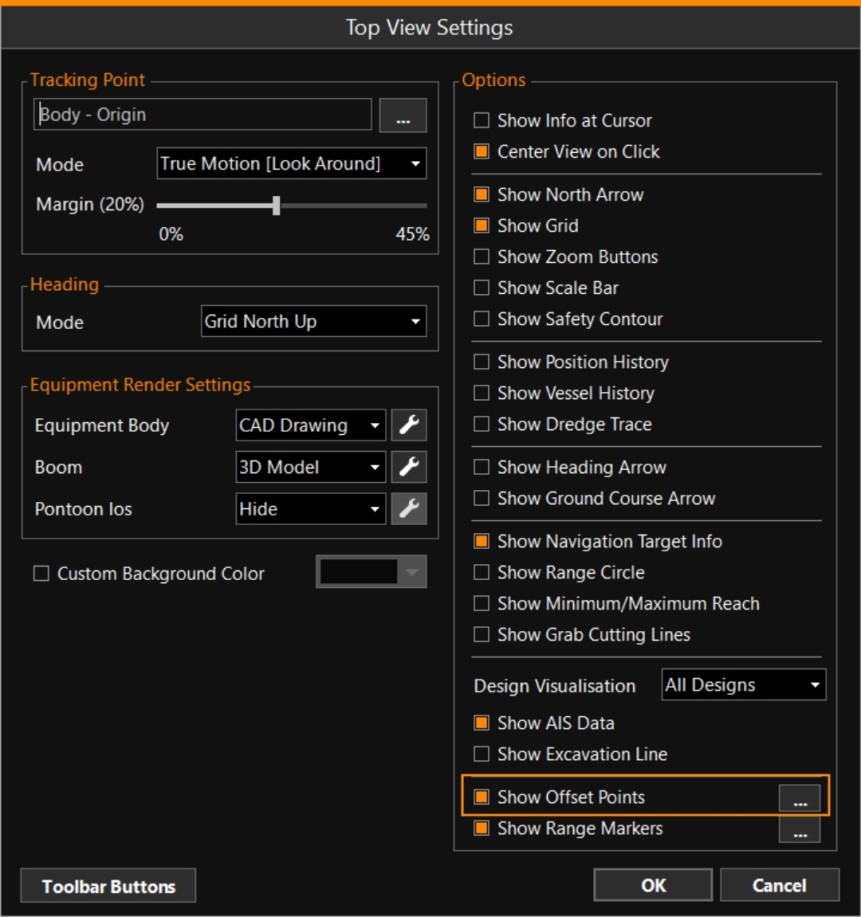
Activate 'Show Offset Points'.
Click on the browse button [...] to edit how to show the Offset Points.
You can also use the button in the Top View Toolbar, if activated.

Offset Point Settings
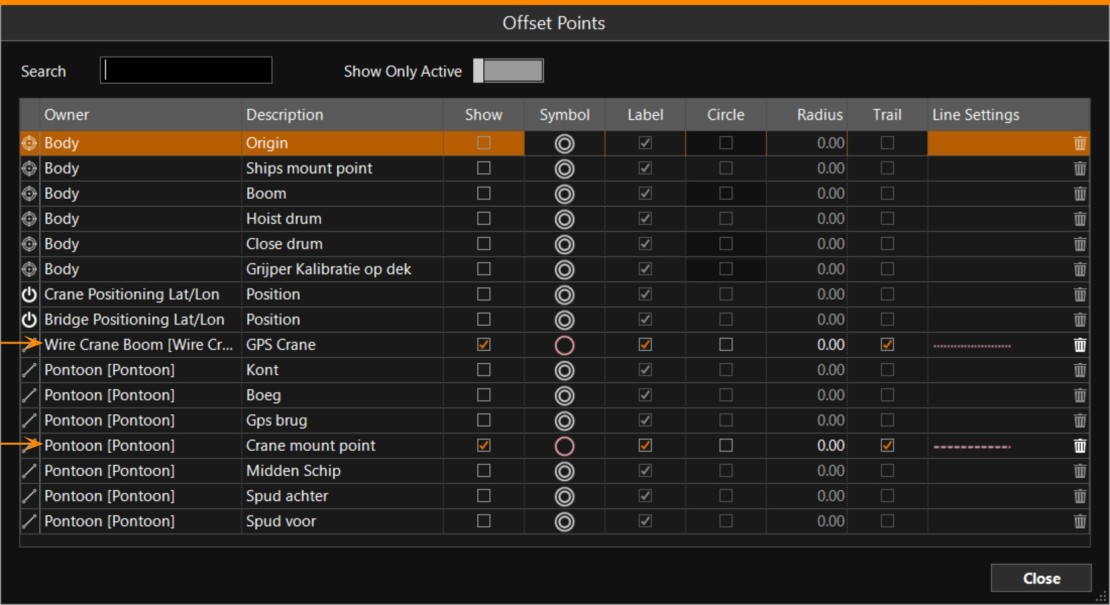
|
Offset Points |
|
|---|---|
|
Search |
When the list of items is very long, shorten it by entering a term in the Search box at top left. |
|
Show Only Active |
Only the points that were already activated will be shown in the list. |
|
Owner |
The part of the equipment on which the offset point is defined. |
|
Description |
The name of the offset point. |
|
Show |
Tick the box to activate showing this point. |
|
Symbol |
The default is a Double Circle. Click on the symbol to activate a small menu in which you can select another symbol and to change its color and size, if necessary. |
|
Label |
When ticked, the name of the selected point will be shown in the screen. |
|
Circle |
To make a point more visible, you can draw a circle around it. Enter its radius in the next column. |
|
Radius |
If 'Circle' has been ticked, you can enter a radius for it . |
|
Trail |
To show a trail for this point, tick this option. Enter the settings for the trail in the Line Settings column. |
|
Line Settings |
The default is a white, solid line. Click on the line to open a small menu where you can enter Update Mode, length of the trail and its color and type. |
|
|
Trails can be cleared individually from the overview here, or all at once using the 'Clear Trails' button that can be added to the Toolbar. See paragraph above. |
 Delete